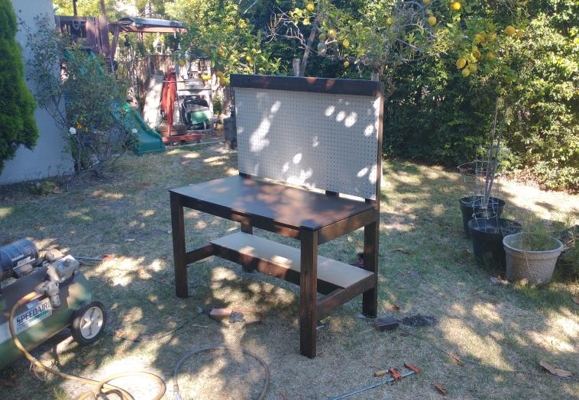
Workbench
Background
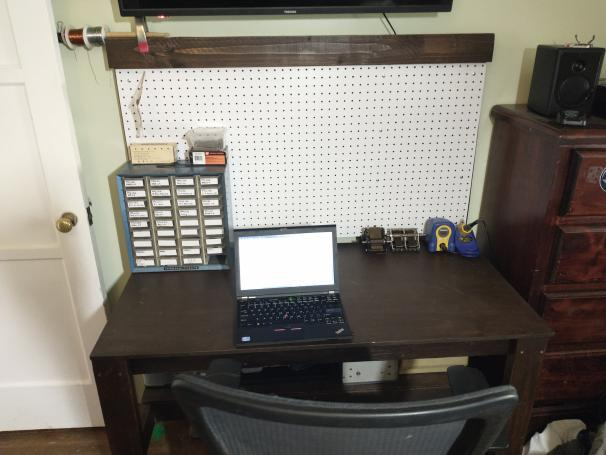
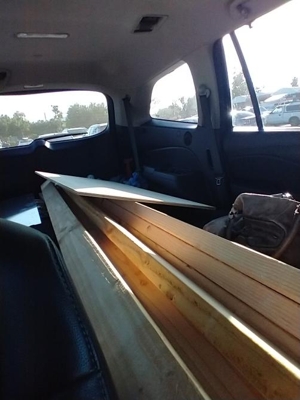
In a typical fashion, I started a big project with no planning whatsoever. I was looking for an aluminum panel at Home Depot when I saw the perfect 4' x 2' plywood sheet, and decided I needed a workbench. Rather than going home and realizing I had no space for another large piece of furniture, I drew up a rough plan in my head and purchased what I thought was needed. Only while trying to stow eight 10-foot douglas fir 2x4s in my mom's car did I realize what I had gotten myself into.
The resulting project took about a month-and-a-half, with several breaks in-between. What I ended up with was an awesome workbench, making it one of the few successful spontaneous projects I've done. Oh, and I was able to fit it in my room after all.
Build process
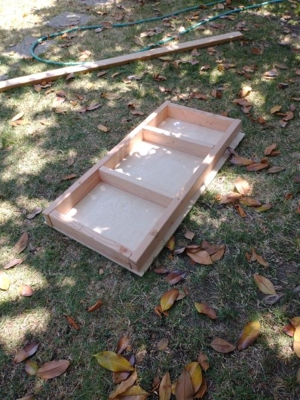
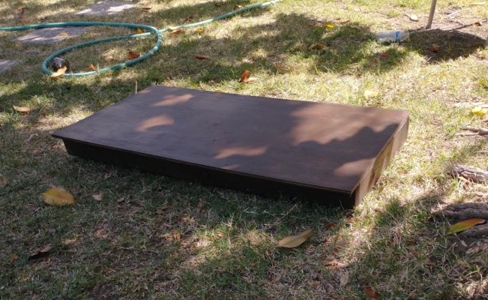
After transporting the lumber home and having it leered at by some construction workers across the street, it was time to begin. I used a handsaw to cut out two 4' lengths of douglas fir, and four 1' 6"-ish lengths. These were screwed together to form the benchtop frame. The two inner beams were important, as I wanted it to support a lot of weight.
It was at this point when I decided the bench needed to be lacquered and stained for longevity and aesthetics. I purchased some Varathane dark walnut stain and spray-on polyurethane lacquer, and applied both to what I had already built.
After a brief hiatus, I cut out and mounted all four legs. The ones in front were 2' 5", as it was to be a sitting workbench for electronic work, and the ones in the back were something to the tune of 5' 6". This was done so I could eventually mount a piece of 4' x 2'-ish pegboard to them.
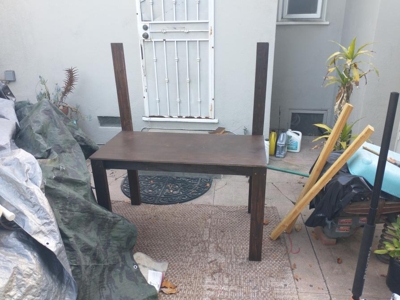
After another hiatus due to being on vacation in Hawaii, I continued building the workbench. For stability, I added two horizontal cross-bars to the rear legs, and two more connecting them to the front. I also put a 4' x 1' plywood panel atop the lower support for increased storage, and mounted the pegboard I had wanted.
